melonjs / melonJS
- пятница, 23 декабря 2022 г. в 00:36:43
a fresh & lightweight javascript game engine


melonJS 2 is a modern version of the melonJS game engine. It has been rebuilt almost entirely using ES6 class, inheritance and semantic, and is bundled using Rollup to provide modern features such as transpiling and tree-shaking.
Note: migrating an existing project to melonJS 2 (version 10.0 and higher) will definitely break your game (ES6 semantic, no more Jay inheritance, nodeJS event emitter, and no backward compatibility with deprecated legacy APIs), and you might want to read first this small step by step guide on upgrading to melonJS 2. If you are looking at the legacy version (9.x and lower) of melonJS, you can find it here under the legacy branch.
melonJS is open-source, licensed under the MIT License, and actively developed and maintained with the help of a small team of enthusiasts at AltByte in Singapore.
melonJS is a fully featured game engine :
Compatibility
Graphics
Sound
Physic
Input
Level Editor
Assets
And Also


Tools integration and usage with melonJS is documented in our Wiki.
You may find it useful to skim the overview found at the wiki Details & Usage
When starting your own projects, checkout our es6 boilerplate
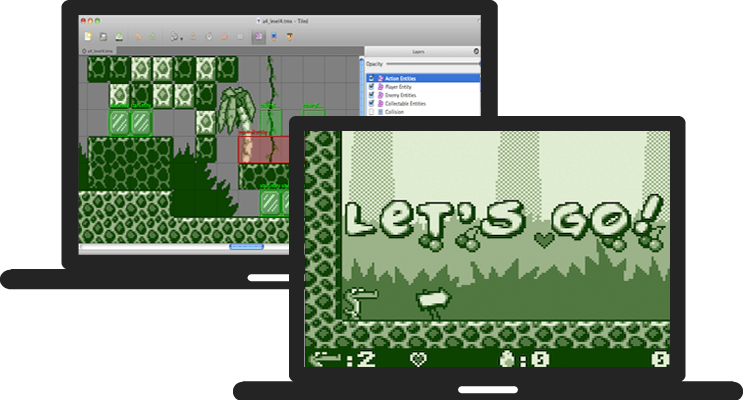
A few demos of melonJS capabilities :
More examples are available here
import * as me from "https://esm.run/melonjs";

me.device.onReady(function () {
    // initialize the display canvas once the device/browser is ready
    if (!me.video.init(1218, 562, {parent : "screen", scale : "auto"})) {
        alert("Your browser does not support HTML5 canvas.");
        return;
    }

    // add a gray background to the default Stage
    me.game.world.addChild(new me.ColorLayer("background", "#202020"));

    // add a font text display object
    me.game.world.addChild(new me.Text(609, 281, {
        font: "Arial",
        size: 160,
        fillStyle: "#FFFFFF",
        textBaseline : "middle",
        textAlign : "center",
        text : "Hello World !"
    }));
});
Simple hello world using melonJS 2 (version 10.x or higher)
To enable an offline version of the documentation, navigate to the settings page and enable offline storage:

The latest builds with corresponding release note are available for direct download here.
melonJS 2 now only provides an ES6 Bundle :
| build | description |
|---|---|
melonjs.module.js |
the ES6 Module (ESM) Bundle |
melonjs.mjs |
a tree-shakeable ES6 Module Directory |
types/index.d.ts |
typescript declaration files for the ES6 Module (ESM) Bundle |
Note: if you need your application to be compatible with ES5, refer to our boilerplate that provides automatic transpiling to ES5.
Alternatively, the latest version of melonJS can be installed through NPM :
$ npm install melonjs
If you need to import the ES6 module of melonjs (e.g. for Webpack):
$ import * as me from 'melonjs/dist/melonjs.module.js';
Or can simply be added to your html, using jsDeliver content delivery network (CDN) :
<!-- load the ES6 module bundle of melonJS v10.0 -->
<script type="module" src="https://esm.run/melonjs@10.0"></script>
<!-- omit the version completely to get the latest one -->
<!-- you should NOT use this in production -->
<script type="module" src="https://esm.run/melonjs"></script>
Note: starting from the 10.0.0 version, the debug plugin is no longer provided as part of the melonJS library release, and has been moved to the official boilerplate
For most users, all you probably want is to use melonJS, and all you need then is just to download the latest built release to get started. The only time you should need to build melonJS is if you want to contribute to the project and start developing on it.
To build your own version of melonJS you will need to install :
Once Node.js and NPM have been installed, you need to install build dependencies, by executing the following in the folder where you cloned the repository :
$ [sudo] npm install
Then build the melonJS source by running:
$ npm run build
The generated files will be available under the build directory :
melonjs.module.js : plain ES6 modulemelonjs.mjs : a ES6 chunk directory used for tree-shakingIf you need to create the corresponding typing you can use the follwing :
$ npm run types
This will generate all the .d.ts file under the dist/types directory.
To run the melonJS test suite simply use the following:
$ npm run test
This will run the jasmine spec tests with the output displayed on the shell. Do note that the latest Chrome version is required, as the test unit will run the Browser in a headless mode (in case of failed tests, upgrade your browser).
Last but not least, if you really want to contribute, but not sure how, you can always check our discussions list to get some idea on where to start.
Similarly, you can build your own copy of the docs locally by running :
$ npm run doc
The generated documentation will be available in the docs directory
latest WIP builds are available under dist in the master branch.
If you need technical support, you can contact us through the following channels :
Support the development of melonJS by becoming a sponsor. Get your logo in our README with a link to your site or become a backer and get your name in the BACKERS list. Any level of support is really appreciated and goes a long way !